
Nanodrawmo Day 1 2009/11/01
I’m giving Steve Frank’s nanodrawmo a try this November, but in pottery rather than drawing. Producing 50 interesting works in one month is unlikely given drying, glazing and firing times, but I’ll just give it a go and see how far I get. As I’ve not been in the studio much lately, the goal of practicing more will be met no matter what!
Today I made two leaf-pressed bowls and thought I’d do a writeup of the first one. I doubt I’ll document many of the rest of my entries in as much detail, but figured I’d do one for the first day.
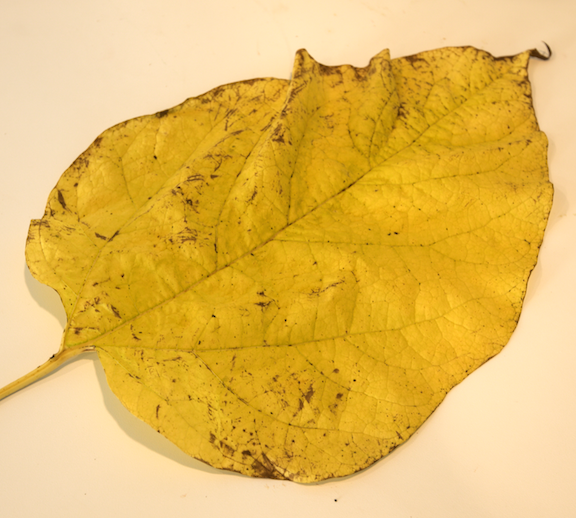
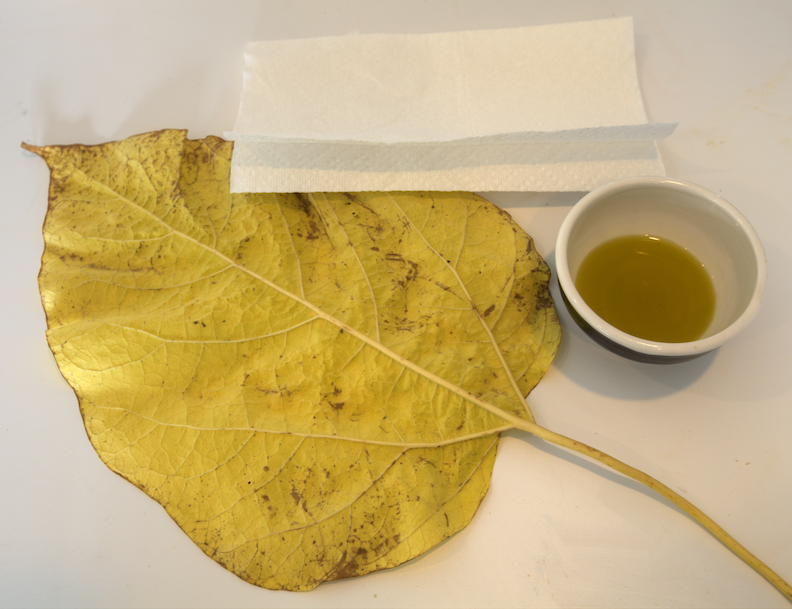
The wife and kids came home last night from trick-o-treating with a huge leaf. I have no idea what kind of plant it is from, but it has great veins and looked perfect for imprinting into a pot. The pic below doesn’t really indicate the scale well — I estimate that from base to tip, excluding the stem, it was about 12”.
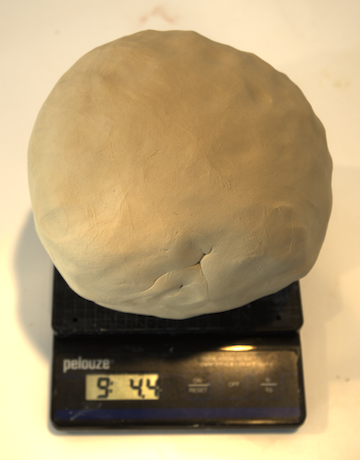
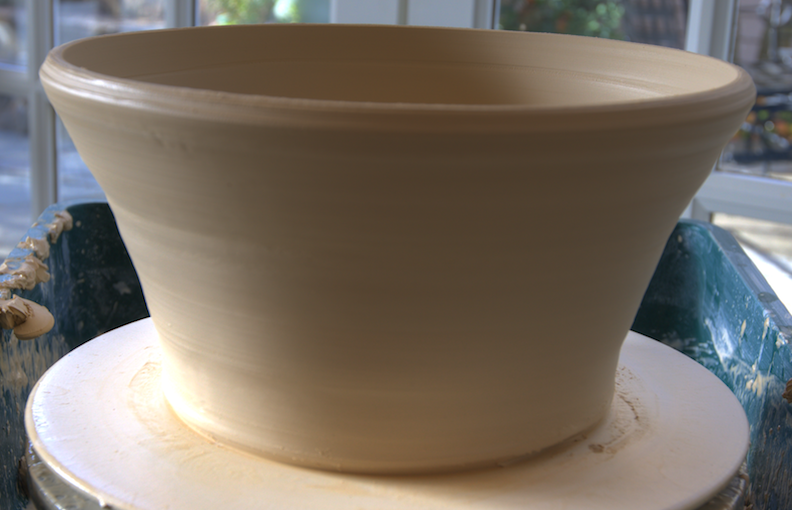
The main issue I was worried about besides the size of the pot was that in order to minimize wrinkling of the leaf while I pressed it into the concave space, I would need to make the bowl flair out wide and flat. This is a recipe for having the pot collapse if it gets too thin or wet. To help avoid this, I wedged up about 9lbs of clay. I’m led to believe there is some way to twiddle my (wife’s) camera that will increase the depth of field. So far, I’ve failed to look for it.
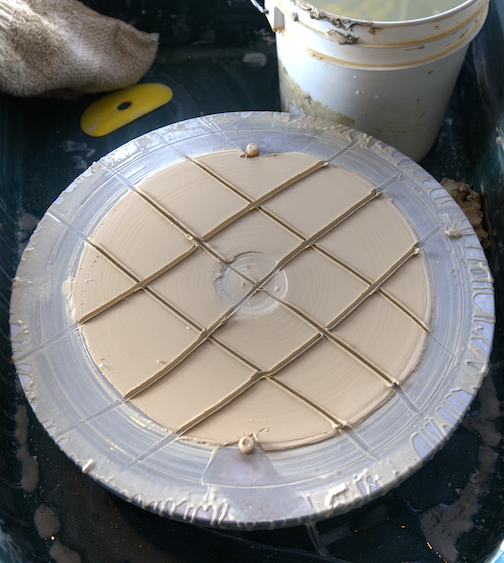
Smaller pots can be lifted off the wheel head by hand, but larger pots need time to dry before being handled, so you throw them on a bat. The bats I have don’t perfectly fit the pins and wiggle a little under sideways forces while centering (especially with large blobs of clay). The solution to this is to put a thin pad of clay under the bat to provide some friction. Some diagonal lines etched in the pad allow air to enter and make bat removing require only a moderate amount of force.
Attaching the bat, centering, opening and the initial pulling to a cylinder are left to the imagination since I didn’t bother to clean my hands off to pick up the camera. The first stopping point was a large cylinder. While you can throw bowls by pulling out diagonally to start, in my experience that tends to be less stable and thus less good for large bowls.
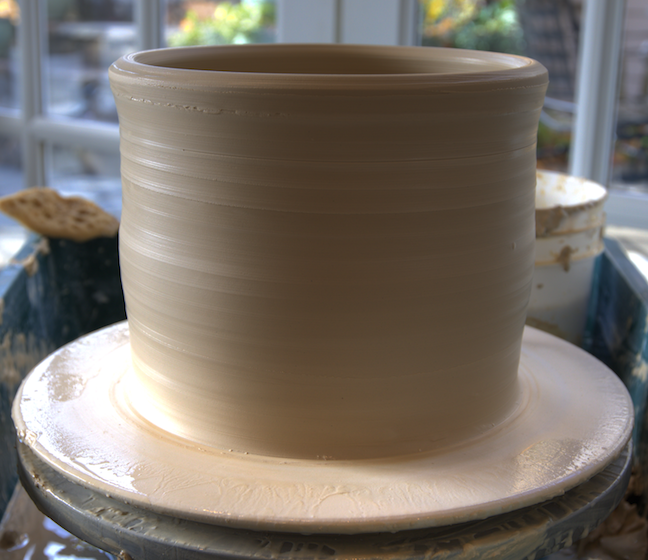
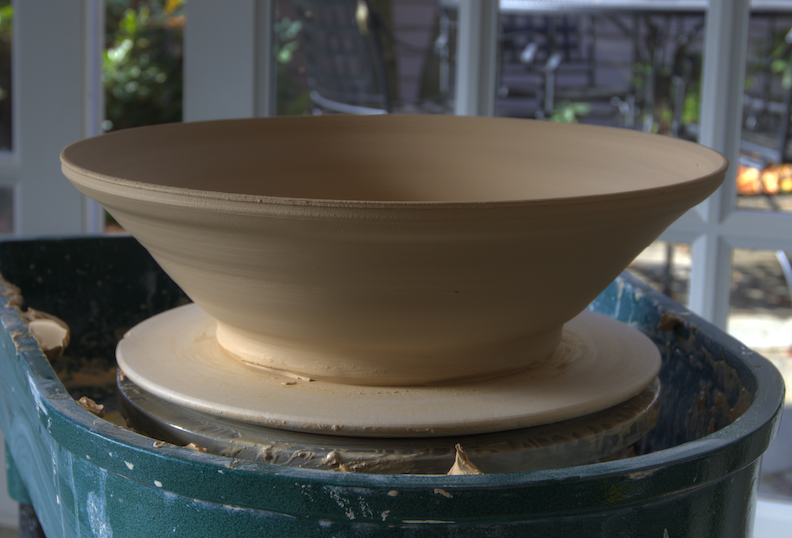
At this point, you can use a flexible rubber rib to flair the cylinder out into a bowl. This removes slip from the walls of the bowl, making it less heavy and stronger, but also compresses the wall, again making it stronger and less likely to fall (using a blowtorch on the outside of the pot also helps remove excess water). Starting from the lip of the pot and working top down (not bottom up), the cylinder is flared in several passes.

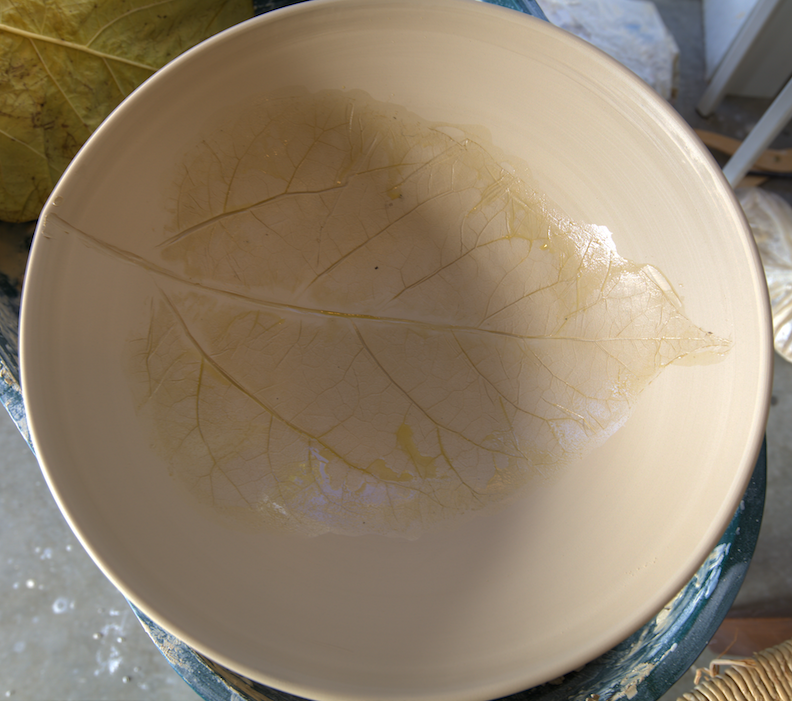
A while back I heard of a fun and easy way to apply leaves to a bowl and have them release without pulling up the clay and ruining the pattern: olive oil.
After brushing oil on the veiny side of the leaf, I pressed and smoothed it into the bowl with my trusty rib.

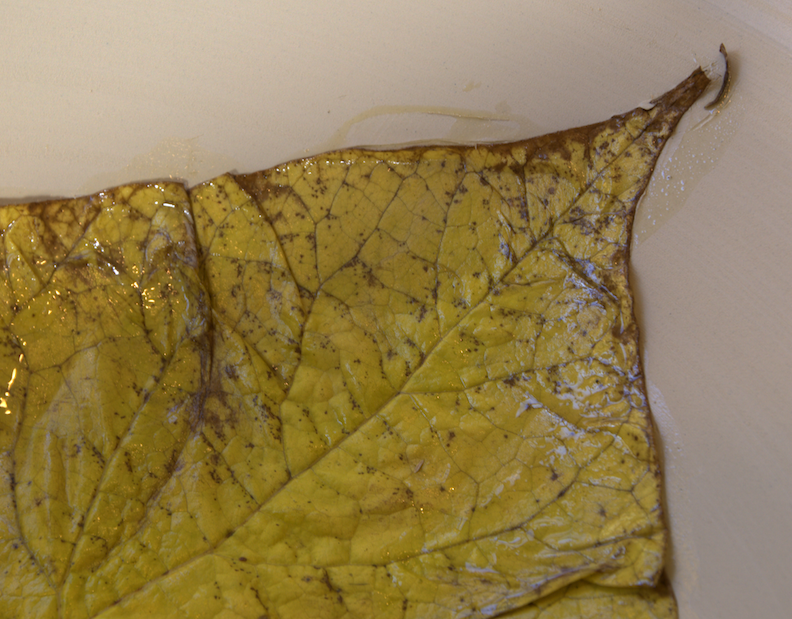
Finally, I gently pealed the leaf out, leaving a nice puddle of oil!
This was a pretty fun project and came out better than I’d hoped, since the form was large and I’d not used this technique before. I learned a few things and still have a few questions, though:
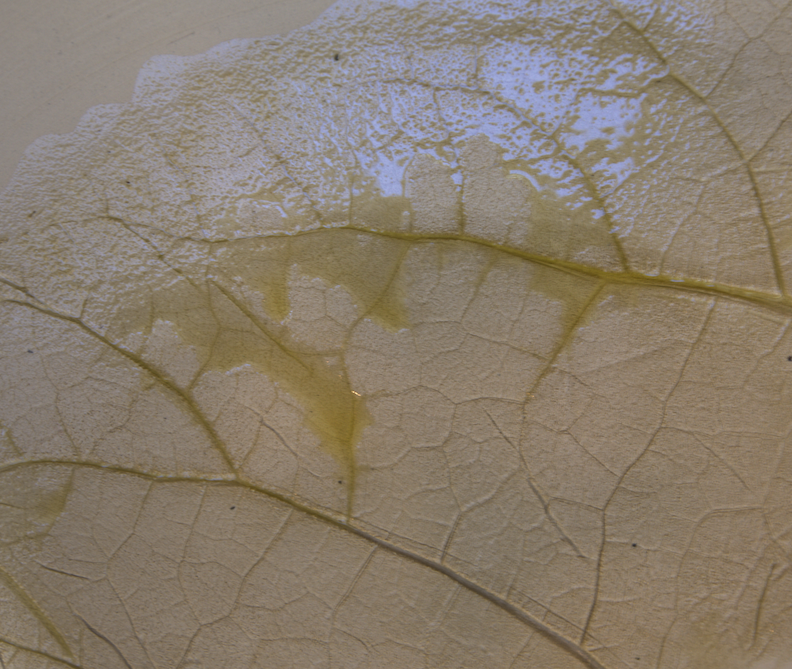
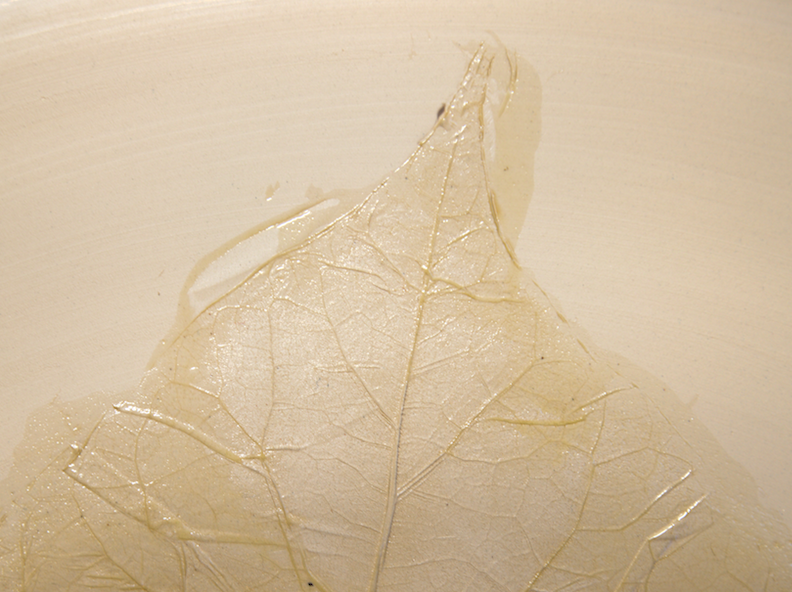
- The edge detail is hard to get right. I need to either be more aggressive in pressing on the edges, or go around it with a needle tool afterward
- It remains to be seen how the oil affects the drying time or consistency. Uneven drying will cause cracks in the bottom of the bowl, so it’s possible this will still fail. I may end up wrapping this tightly in plastic to let it try especially slow (a couple weeks… might not even be done before December!)
The second bowl, not pictured, is smaller and used maple leaves and seeds around the outside. I tried harder to get edge detail there with some better results. On both of these I’ll need to be careful how I glaze them to avoid losing the fine detail.
As far as the risk of failure goes, I’m going to count failure towards my 50 works. Practice is the point, and failure is a great teacher. Besides, those of you drawing don’t have to worry about your sketches exploding in the kiln!
blog comments powered by Disqus© 2012 Tim Wood